ホームページ

ニュース

Why the Solar L Foot + Solar Rail Combo Is Changing Roof Mounting?

Why the Solar L Foot + Solar Rail Combo Is Changing Roof Mounting?

April 16, 2026

When designing a rooftop solar array, the mounting structure rarely gets the spotlight. Yet the choice between old-school hook systems and a modern solar rail system makes a huge difference in speed, safety, and long-term reliability.

In my experience, the most underrated upgrade is pairing a solar L foot with a properly engineered solar rail. Together, they create a foundation that is stronger, more waterproof, and faster to install than traditional alternatives.

Let’s break down what makes this combination different—and why it’s becoming the new standard.

solar l foot

What Are We Actually Talking About?

  • Solar L foot – An L-shaped aluminum bracket that bolts directly to the roof rafters or decking. It includes a sealed EPDM foam base for waterproofing.

  • Solar rail – The extruded aluminum channel that sits on top of the L feet and carries the solar panels.

  • Solar panel rail – Another term for the same rail, emphasizing its role in holding PV modules securely.

  • Solar rail mounts – The complete set of components (L feet, bolts, clamps, end caps) used to attach the rail to the roof.

When you combine these, you get a solar rail system that is modular, adjustable, and surprisingly simple.


Key Differences vs. Traditional Hook Systems

Feature Traditional Hook L Foot + Rail
Roof penetration 2–4 screws per hook 1 screw per L foot
Waterproofing Lead or rubber flashing Pre-attached EPDM gasket
Rail alignment Hook position is fixed Rail can slide along L foot top
Material compatibility Best for wood rafters Works with wood, steel, concrete

The biggest difference? Adjustability. With a standard hook, once it’s screwed down, the solar panel rail position is locked. If your measurements are off by 2 cm, you have to remove screws and re-drill.

With a solar L foot, the top slot allows the rail to slide fore and aft before tightening. That single feature saves hours of frustration on a medium-sized roof.

solar tin roof mount

Advantages of the L Foot + Rail Structure

1. Fewer Leaks – Period

Each solar L foot comes with a factory-applied waterproof pad. When compressed by the single mounting screw, it creates a seal that outlasts hand-cut flashing. Many manufacturers now offer 10-year leak warranties on this design.

2. Faster Installation

Because there’s no measuring for hook slots or cutting lead sheets, crews can install solar rail mounts roughly 35% faster. One crew member positions L feet; another snaps on the solar panel rail. No waiting, no rework.

3. Lower Roof Stress

Traditional hooks concentrate force on a single screw point. The solar L foot spreads the load across a 20–30 cm² footprint. This is critical for older asphalt shingles or fragile clay tiles.

4. Works on Multiple Roof Types

  • Asphalt shingles – Direct mount, tuck the gasket under the shingle above.

  • Clay/concrete tiles – Lift the tile, screw L foot to decking, then replace the tile over the foot.

  • Metal standing seam – Use a clamp adapter (no roof penetration at all).

5. Built-in Leveling

The horizontal leg of the l foot solar bracket naturally self-levels on the roof plane. If your rafters are slightly warped (common in older homes), the L foot still provides a flat mounting surface for the rail.

6. Future Serviceability

Need to replace a single panel or repair roof underlayment? Loosen the rail, slide it off the L feet, and remove only the affected section. You don’t have to dismantle half the array.

solar roof

When Should You Choose This System?

The solar rail system based on L feet is ideal for:

  • Residential sloped roofs (especially asphalt shingle and tile)

  • High-wind or heavy-snow regions (dual-bolt locking is very strong)

  • Retrofits where existing attachments are failing

It is not recommended for:

  • Corrugated metal roofs thinner than 0.5 mm

  • Flat commercial roofs (use ballasted or penetrating pedestals instead)

  • Live turf or green roofs (specialized low-impact mounts exist)

solar metal roof

A Quick Word on Components

If you search for solar panel rail, you’ll find many profiles. For L foot systems, choose a rail with an open slot on the bottom (to slide onto the L foot top) and a top channel for panel clamps. Standard lengths are 3–5 meters.

The solar rail mounts themselves (L feet, bolts, splices) are usually sold as kits. Make sure the l foot solar bracket is rated for your local wind speed. A 120 mph rating is typical for most of the US.

Real-World Example

I recently watched a team install a 9 kW system on a 30-year-old asphalt roof. They used solar L foot brackets every 1.2 meters along each solar rail run. The solar panel rail went down in straight, level lines without a single shingle crack. The whole rail mounting phase took under three hours. The homeowner commented, “It looks cleaner than my neighbor’s system.” That’s the L foot difference.

Bottom Line

The shift from old hook-style attachments to a purpose-built solar rail system with solar L foot bases is not a minor tweak—it’s a fundamental improvement in how we attach PV to roofs.

You get:

  • Fewer penetrations

  • Faster installs

  • Better waterproofing

  • A serviceable, long-lasting structure


If you are specifying or installing rooftop solar in 2026 and beyond, put the solar L foot and solar rail at the top of your bill of materials. Your roof—and your future self—will thank you.

伝言を残す

伝言を残す
当社の製品に興味があり、詳細を知りたい場合は、ここにメッセージを残してください。できるだけ早く返信させていただきます。
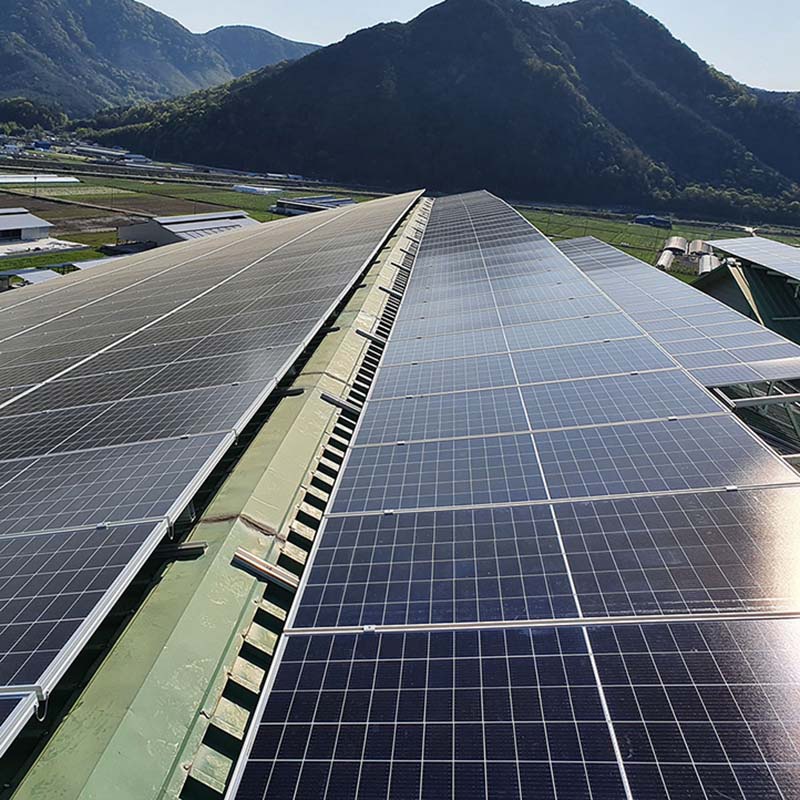
提出する
お問い合わせ : melody@9sunsolar.com

ホームページ

製品

whatsApp

接触